From Staircase to Mallet
It’s been a busy spring so far in the Small Boat Works household but I managed to finish off two of my winter projects. The first was an oak mallet which has its own story.
A few years ago my father made me a birthday cake, presented atop a 12" offcut from his new staircase. The cake came with a gift of an old block plane and a note saying that I might find a use for the cake stand to make something. It was a lovely block of wood. It deserved to be made into something good. And so the oak sat on my bench for a few years waiting for the right project. It almost ended up as parts for Curlew, but in the end my ash stock did the job.
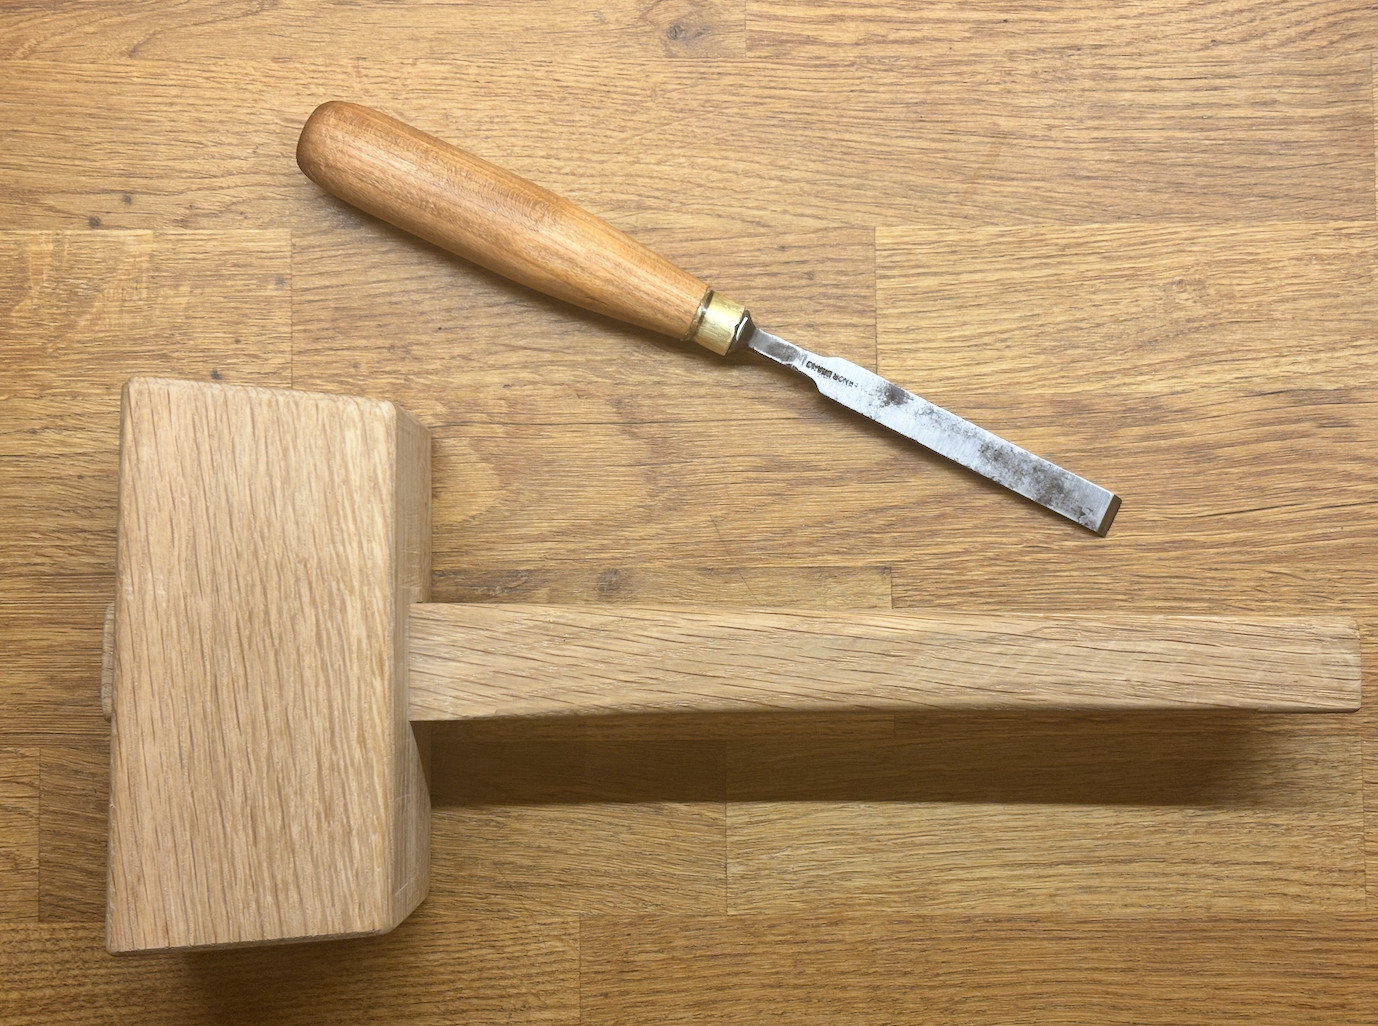
Not long after that I bought my first set of chisels. These were the cheap(ish) kind with plastic handles but happily were better than “chisel-shaped objects” 1 as they can hold an edge and cut well. They came with a very small mallet included. On one of my first visits to my local Maker Space another woodworker chuckled at my “tiny hammer”, and suggested that a heavier mallet would be more effective for the mortices I was trying to cut (he was right).
When I couldn’t find a large enough piece of beech I had the idea of glueing up two pieces of the oak to form a mallet head. After all, what better use for the oak than to craft a new tool—one that would go on to help make many more things?
I made the mallet by cutting out two 4-inch blocks, and chiseling a tapered channel in each one. I then epoxied the two together, with the channels forming a hole in the middle for the handle. I managed to make the whole thing including the handle from the single block, and cut the handle to be tapered in line with the hole. The mallet faces were cut at an angle to match the taper of the handle (read Schwarz’s section on wooden mallets with square heads for detailed instructions 2).
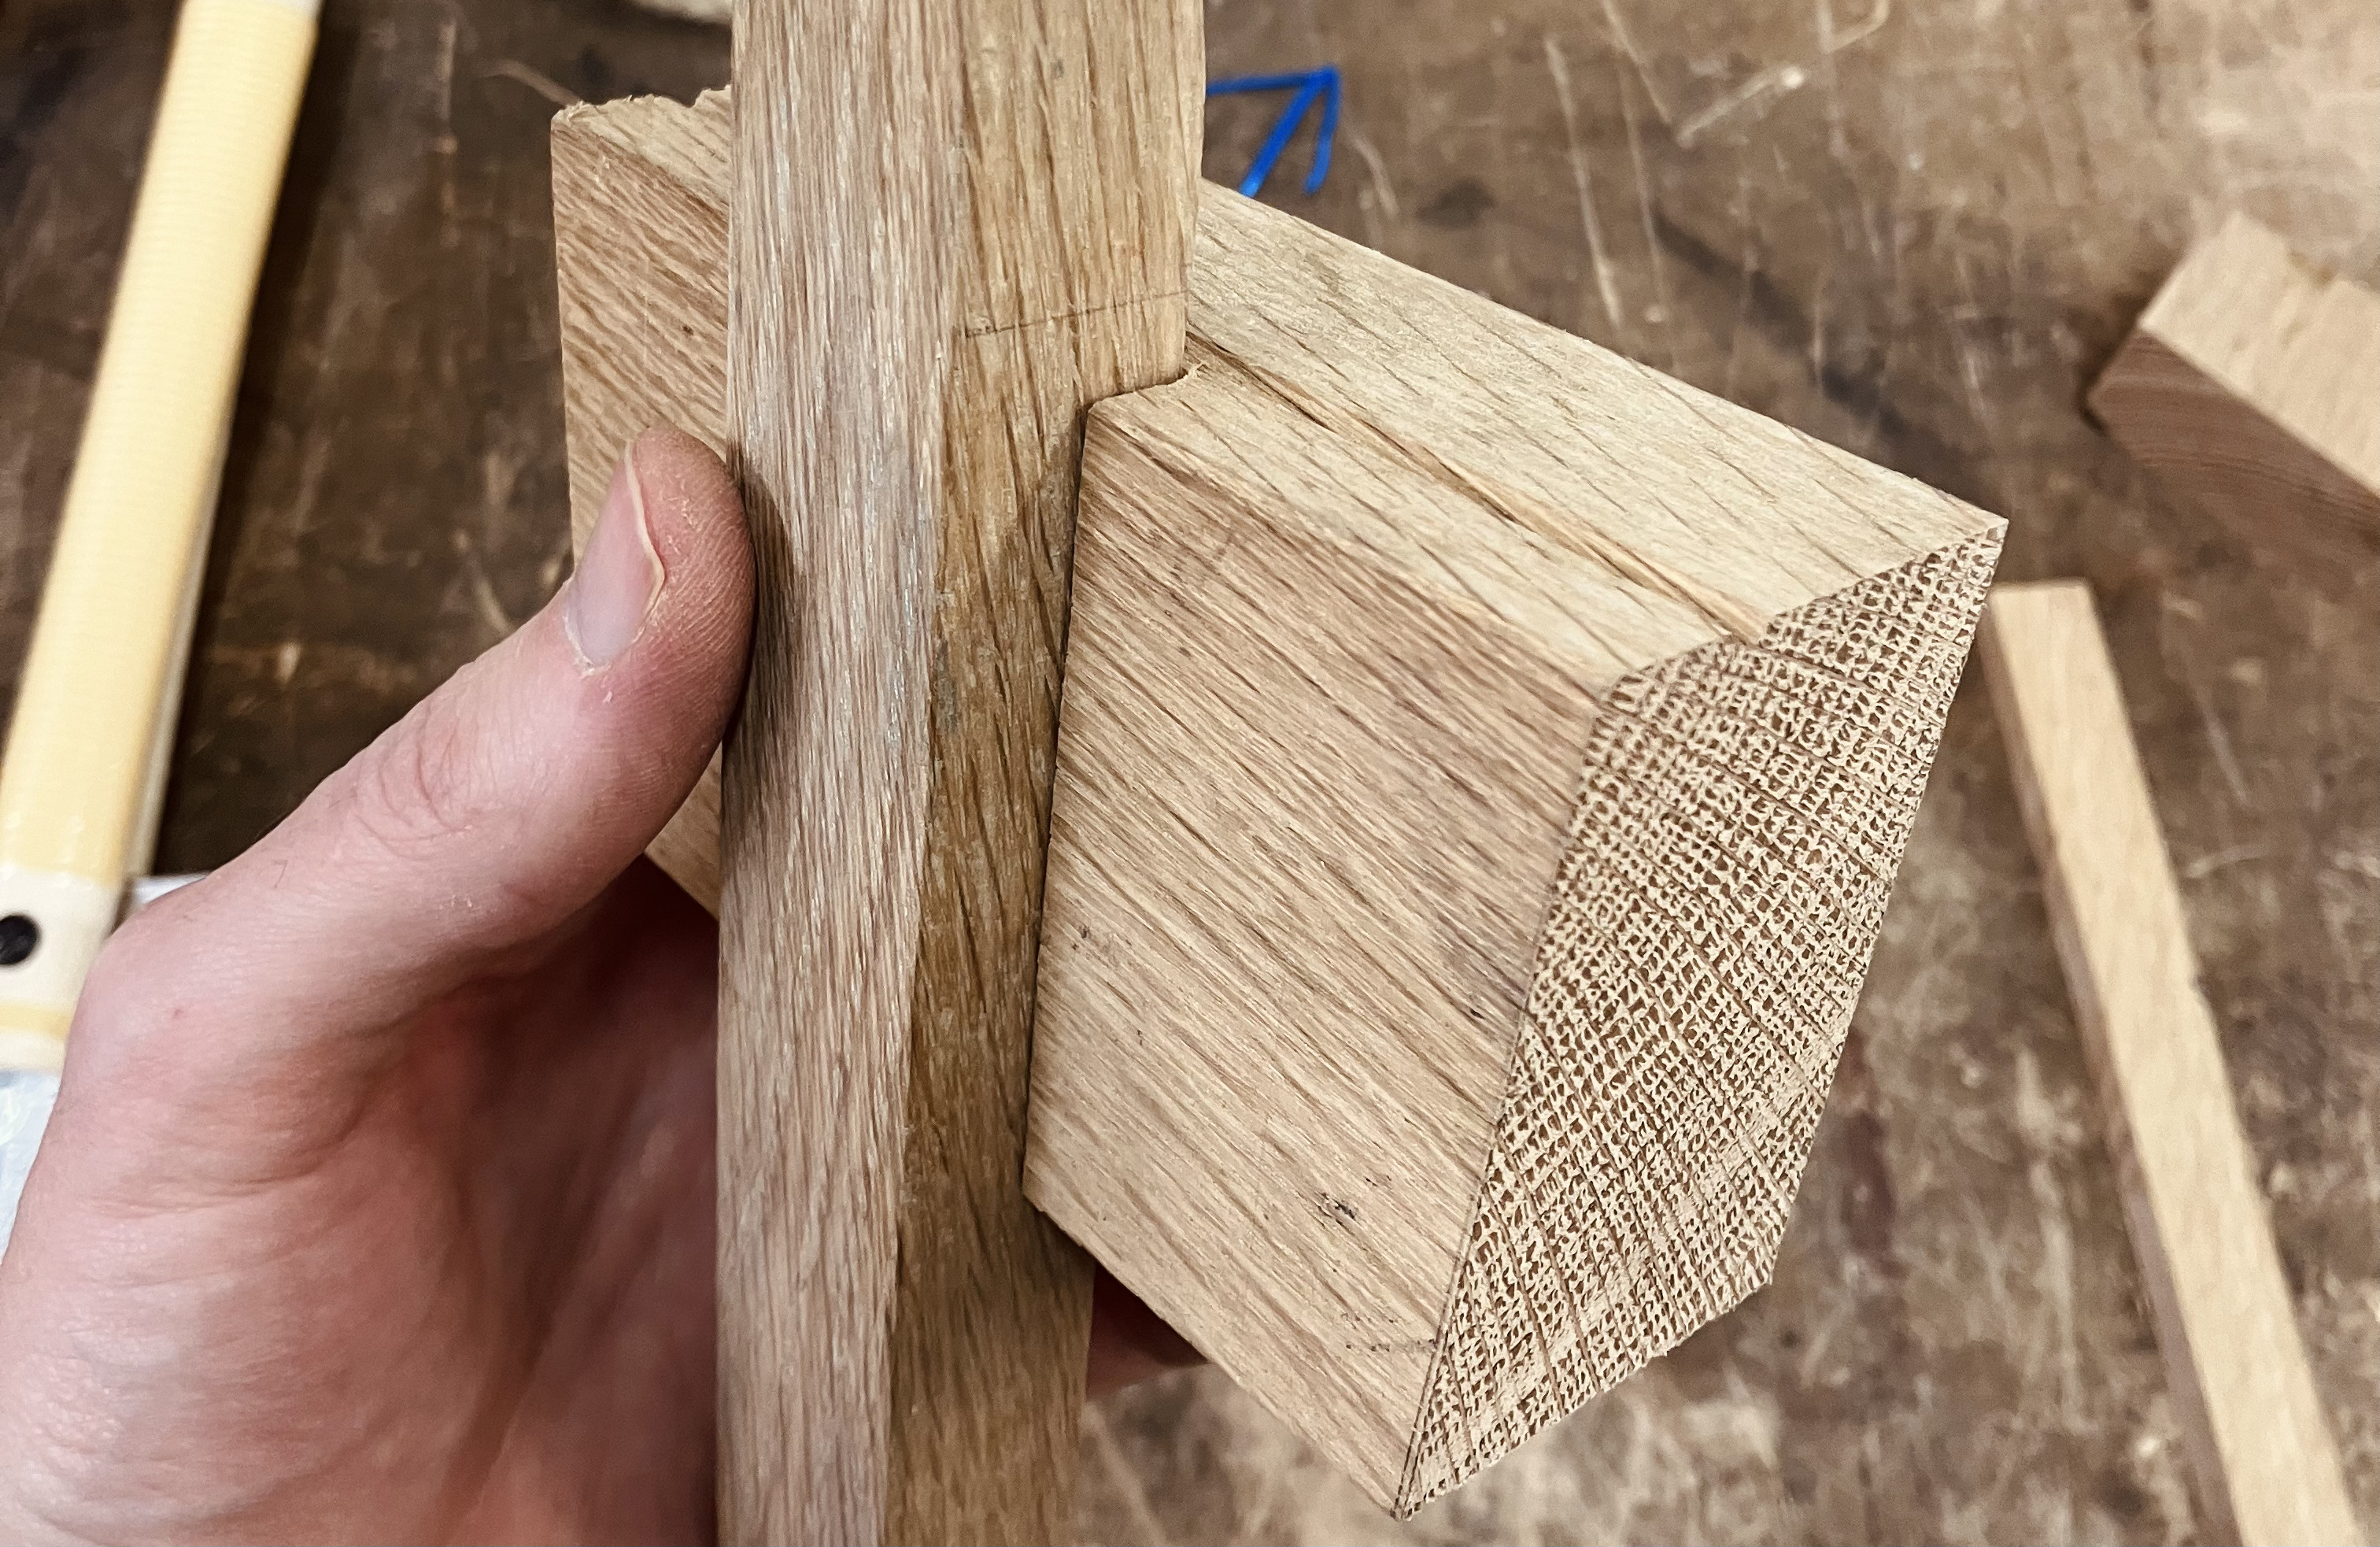
I actually reached this point last year, and had a functioning mallet and handle that fitted. The problem was I wasn’t happy with the proportions of the head or the finish. The head also still contained a decorative groove from the staircase! Unsure of how best to cut the head down to size I put the mallet aside and focused on different tasks.
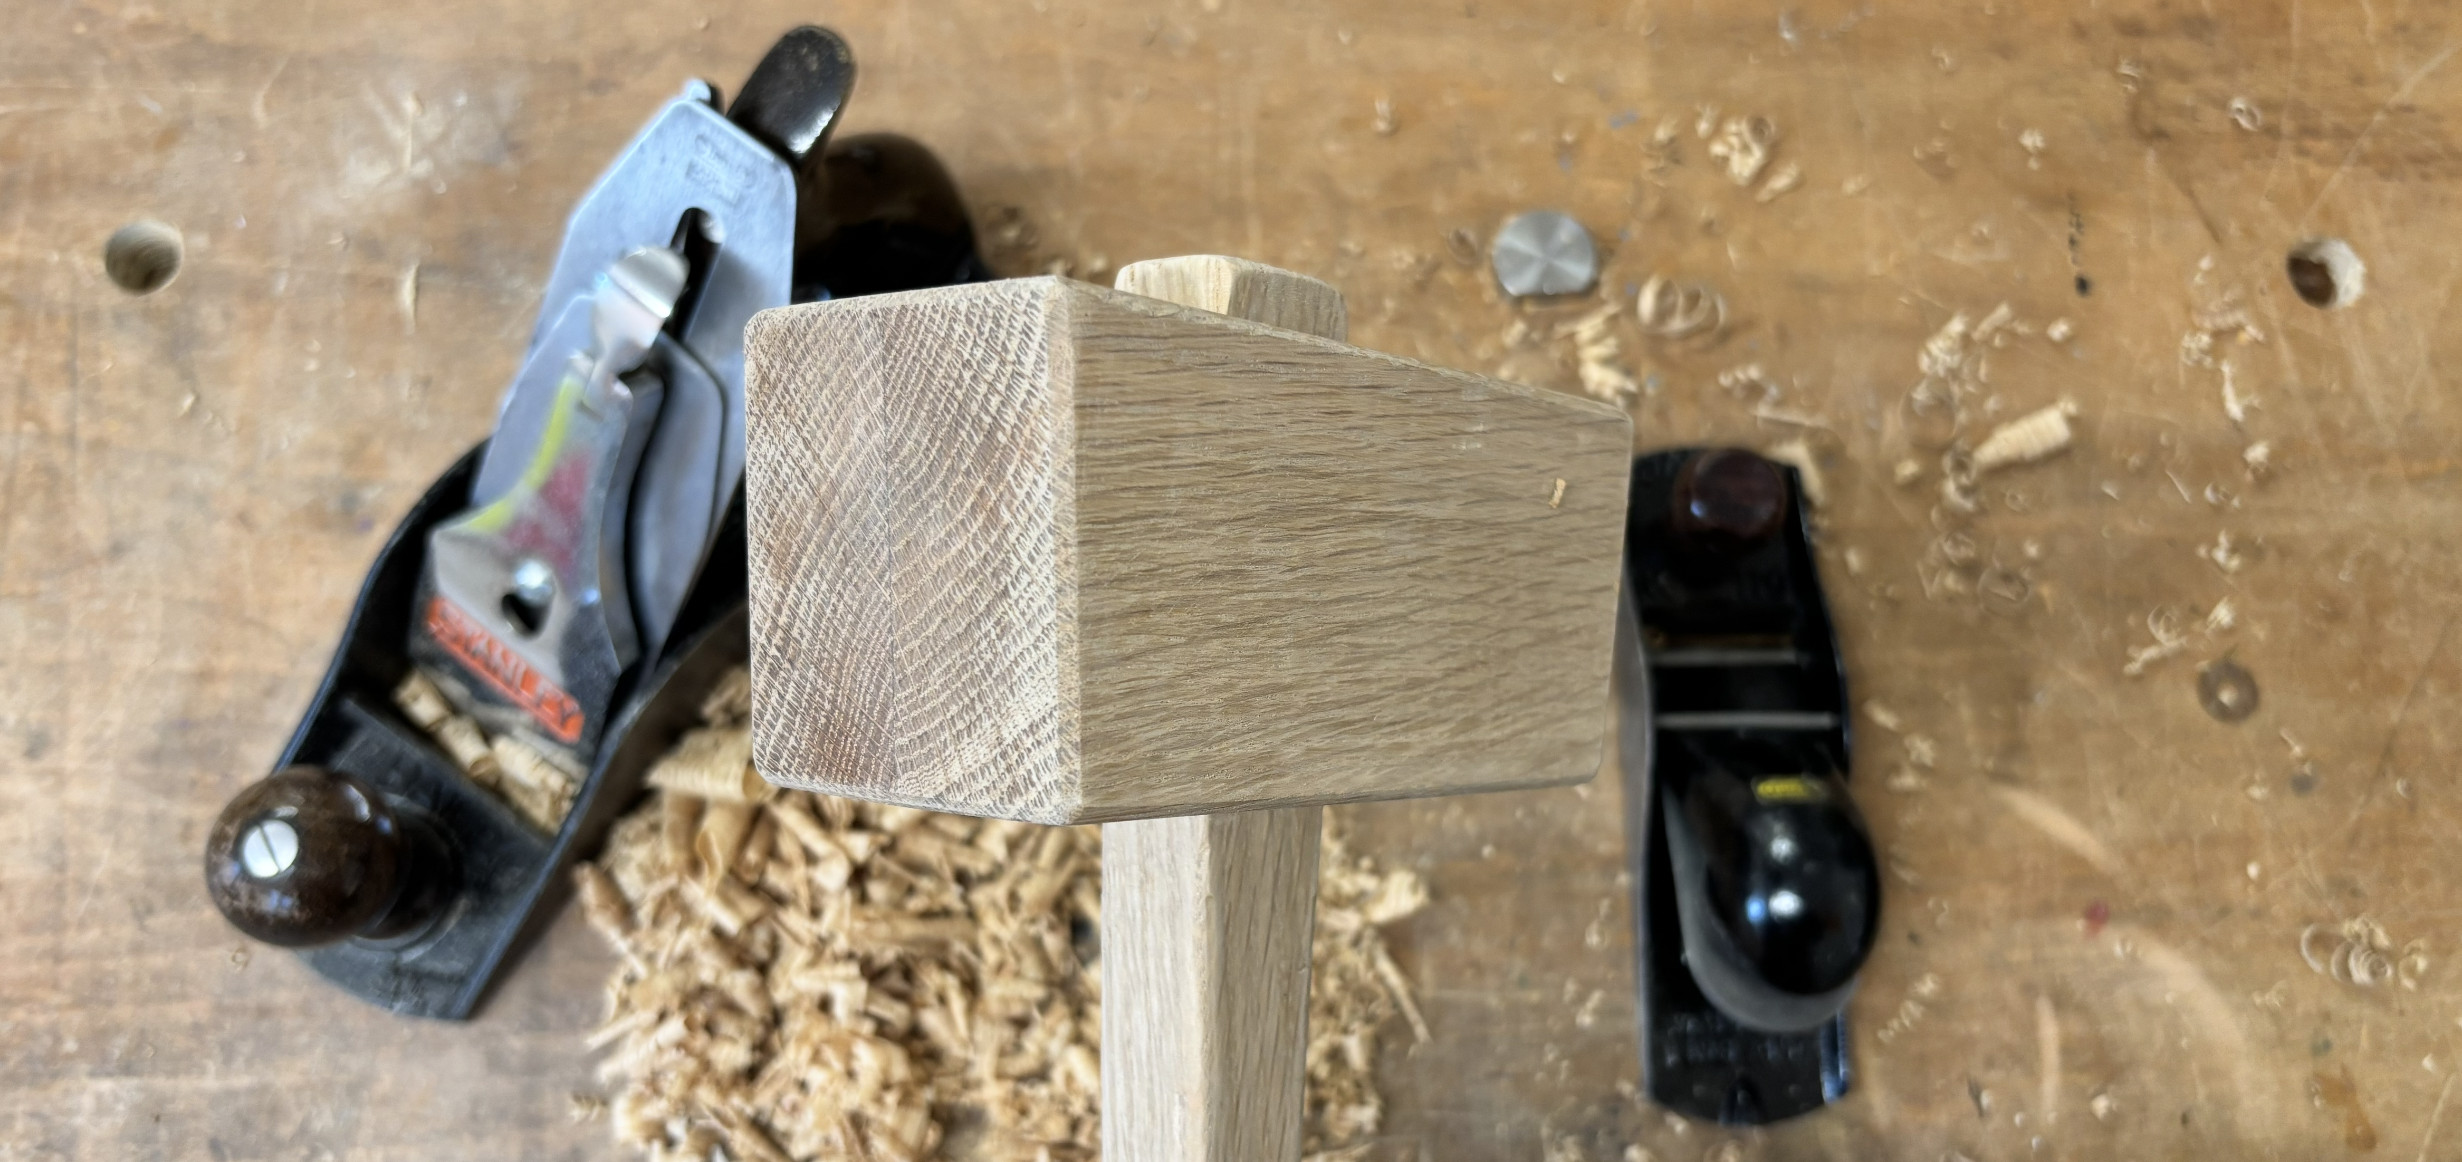
However, my next project needed a wooden mallet, and so I dug it out and focused my energies on finishing it off. I cut the head down to size to rebalance it using the bandsaw. I found this worked well, I could have got a slightly straighter cut using a table saw, but I preferred the control of the bandsaw, which let me take thin, deliberate cuts. After sawing I used my newly sharpened planes to flatten and bevel the sides, edges, and handle. The planes gave it a beautiful finish, and I was very happy with the result - its a tool that you want to hold.
Replacing a Chisel Handle
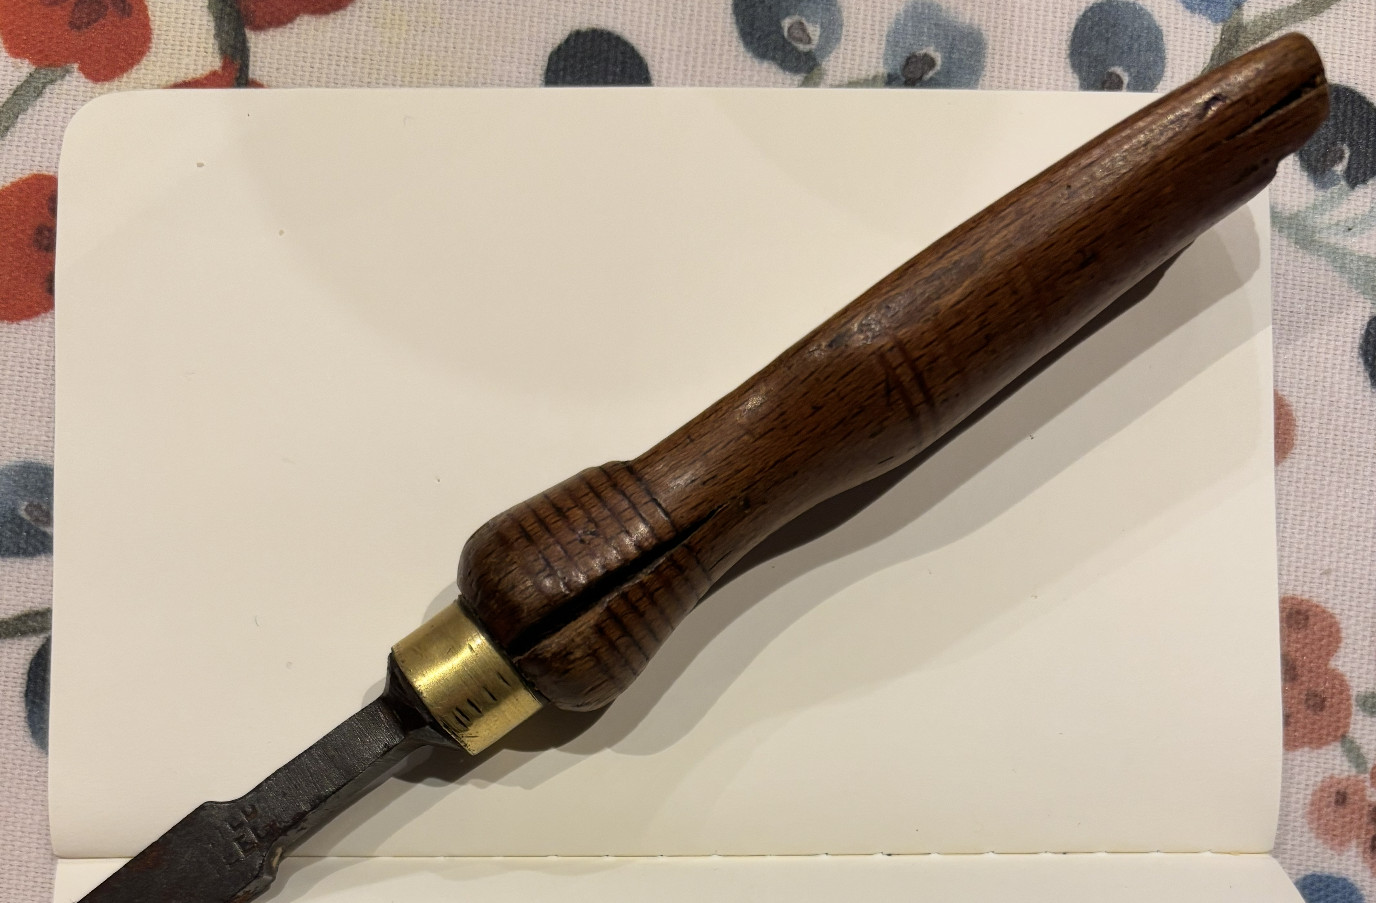
The second project began where the first one ended—putting the new mallet to work. One of the old chisels I’d been restoring needed a new handle, and tapping it home was the perfect first job for the freshly finished hammer. These chisels were a kind gift and have become something of a rolling restoration, gradually brought back to life between other jobs. This one had a split handle, so I took it as an excuse for a bit of woodwork practice.
I haven’t yet mastered the lathe, so shaping a round dowel by hand became my challenge. It turned into a satisfying little apprenticeship in using my newly sharpened and refurbished planes. I roughed a cherry blank square, then eight-sided, and finally into the round—slow work, but deeply enjoyable. For reference I watched both Michael Cooney3 and Paul Sellers’ videos4. Cherry turned out to be a lovely wood to shape, forgiving and clean-cutting, though I’m not sure how well it’ll stand up to regular knocks, particularly as I reused the old ferrule which required a fairly narrow end. For now, the handle fits snugly and the mallet earned its keep by tapping everything home without fuss. The chisel’s back in service and ready for the next job.
There’s something especially satisfying about making tools to use in your own work—closing a kind of loop. Neither build was complicated, but both were a great opportunity to hone my skills, and both tools are now in my tool bag, ready for the next project.
-
Christopher Schwarz, The Anarchist’s Toolchest (Lost Art Press, 2010), 50. Freely available at https://lostartpress.com/products/the-anarchists-tool-chest ↩︎
-
See [1] page 189. ↩︎
-
Michael Cooney, OCuana Designs. “How to Make a File/Chistle Handle With No lathe…That’s Right Not a Lathe in Sight,” October 21, 2022. https://www.youtube.com/watch?v=FnLHPqp71lY. ↩︎
-
Paul Sellers. “Fitting a Chisel Handle” September 9, 2014. https://www.youtube.com/watch?v=xocuzBlViEo. ↩︎