Previous posts in the series:
- Part 1: Deck Reinforcement
- Part 2: Centreboard Case
Downhaul Attachment
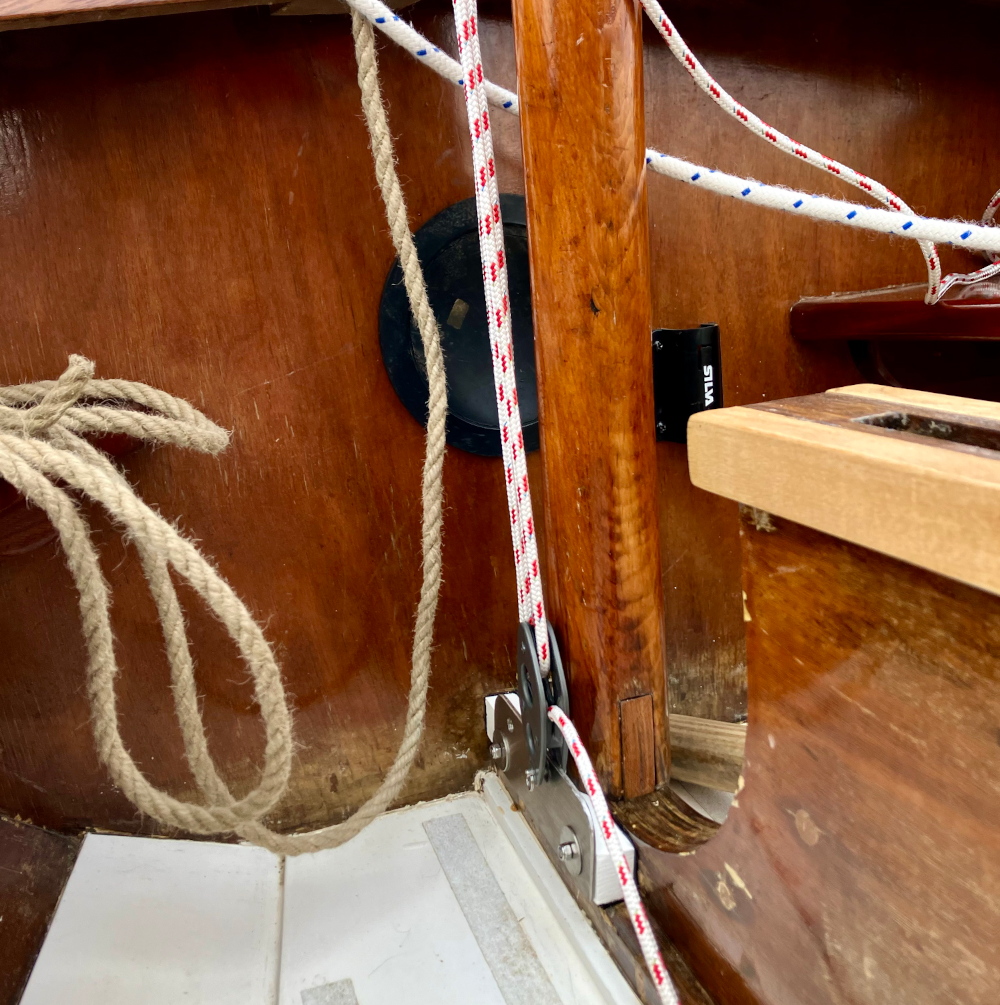
The most technically challenging project in this series was the manufacture of a new downhaul attachment. I had previously upgraded the downhaul to use a fiddle block with jammer to free up a cleat on the mast for the new jib and make adjustments to downhaul tension easier. This system has been working well but after a couple of seasons the attachment point for the block at the mast step wasn’t looking too healthy. This third and final post of the series describes the new replacement that I designed and built.
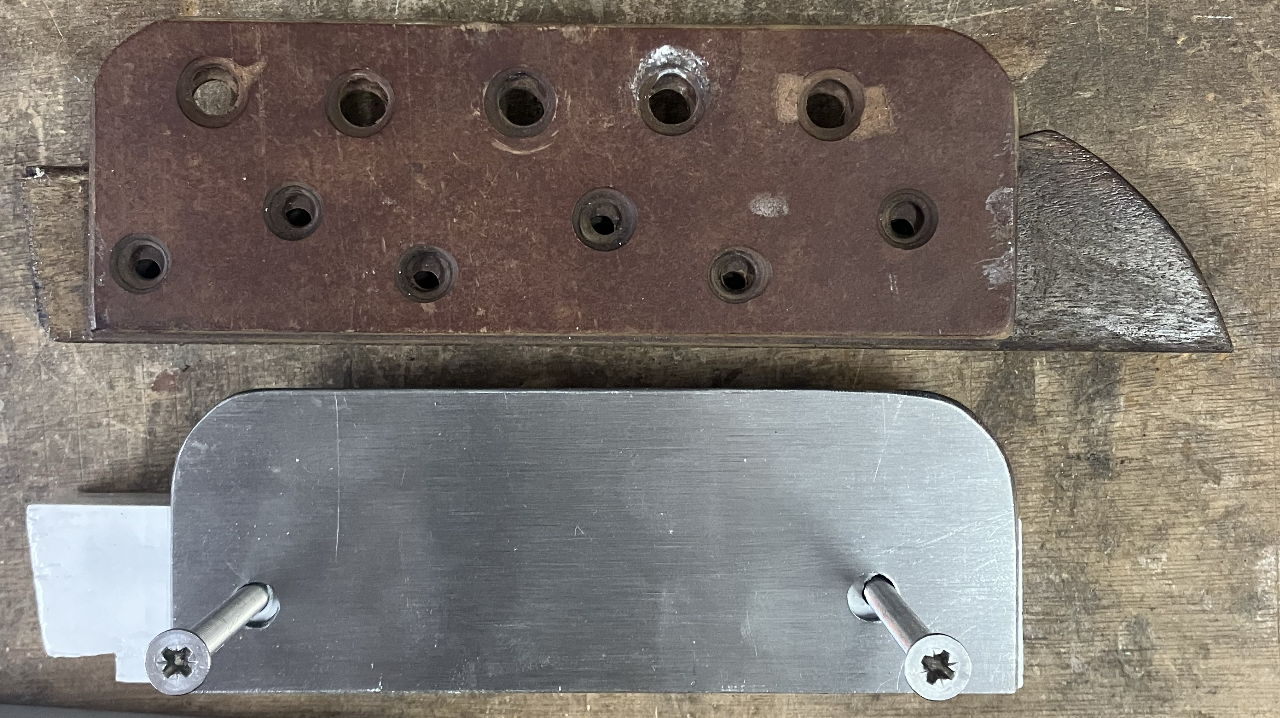
The original downhaul attachment was at the mast step and consisted of a hardwood bracket and two Tufnol plates, all screwed into the keel. The reason for replacement was that the Tufnol was starting to crack and I was worried about water ingress from the eight wood screws into the keel. This is one of the lowest points of the boat making it a particularly a wet point, both at sea and when under cover. I previously had to replace the mast peg due to rot and made a new one with some ash kindly provided by the boat’s previous owner.

Old and new downhaul attachment
New Design
For a replacement I worked up the following design criteria for the new downhaul attachment point:
- strong construction
- secure connection to the boat
- semi-permanent to accommodate repair or replacement

Drilling new through-holes in the mast step. The old holes were reused or filled before the final fitting
I experimented with carving the entire piece out of ash. The trick with this piece is to provide room for the mast as the step is a simple slot which the mast overhangs by 1/4". The downhaul needs to fit around this. In the end I came up with a design similar to the original, using a piece of ash as a spacer and a plate of A4 stainless steel to make a strong attachment point. I made a significant change to how the structure was fixed to the boat opting for through bolts either side of the mast step, which I sealed and bedded with varnish and butyl. I drilled the holes using an electric hand drill, first using a small bit to make a pilot hole and then a large bit at slow speed to work through the mast step timber whilst attempting to keep the holes straight. This should provide a strong fixture that is removable should the mast step need maintenance.
Fitting
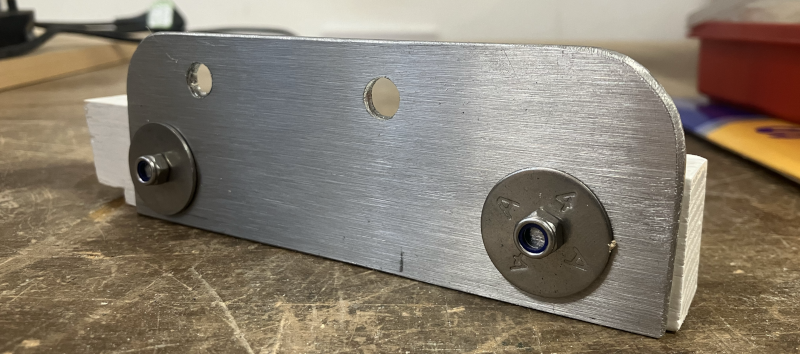
The most challenging aspect was machining the steel plate and carving the ash bracket to fit the odd intersection of angles between mast step, keel and forward bulkhead. The former I tackled using a fine hacksaw and metal file to round the corners of the plate so as to avoid any sharp edges. I drilled the holes in the plate using a pillar drill.
The shaping of the ash bracket was done by eye using a sharp chisel and Japanese pull saw. Once this was fitting snugly the piece was painted and through bolted with A4 bolts dipped in varnish. I also added a second hole on the plate as a strong point for making fast the anchor line, which was subsequently used on a wild night at anchor on Lindisfarne to great success. Overall I’m very pleased with the how the new setup turned out and feel that it is a big improvement on the previous fixings, and should last for some years to come.

